Showing posts with label Two Flags - One Nation. Show all posts

Thursday, 6 February 2025

Campaign News


A new campaign starts today (ACW) and the WWII Krosnogord campaign will shortly see its first major engagement (see link below).

My second campaign undertaking of the year is about to start - the ACW Graysville Campaign, which is a fictitious action between two divisions.

It is Morning, 18th June 1863. Confederate Major General Ewell has been ordered to the town of Graysville, which sits on a strategically important part of the road net. He holds 1st Brigade under Colonel Scott there in reserve, while his 2nd Brigade (Brigadier General Elzey) is dispersed further forwards and has been deployed beyond Mott’s Run to cover the two approach roads and associated bridges. 1st Cavalry Brigade is deployed to cover the small rise that overlooks Old Mine Road,

A Union division under Brigadier General Shields in approaching. His orders are to secure Graysville with all haste.

I have taken the inspiration for this campaign from Charles Grant’s book ‘Programmed Wargame Scenarios’. Accordingly I spent yesterday writing down orders for the two sides, but more importantly, similar to the mechanics proposed by Grant, for each confederate unit and currently held position on the map, I have recorded a dice driven response to any hostile action.

What this means is that, for example, as Dowdall Church is attacked, the 31st Virginia regiment located there will dice against a number of pre-determined response. So until that happens, we will not know how 31st will respond. Mostly the responses are weighted towards a certain decision, but who knows what the dice will give us.

Likewise, I have set up some variables for the Union attack. At the start of play, a D6 will determine how Shields will deploy and direct his division. So the first thing we must do is to determine that. Let’s work out Shield’s initial plan now!

Roll …… 2, the result says;

1st & 2nd Brigade, plus Battery H push down the Old Mine Road. 1st Brigade will clear Peavine Ridge and 2nd Brigade with the artillery will push on along the road to seize Duffy’s Mill.

3rd Brigade advance directly along Piney Turnpike to capture Rock Spring, while Colonel Brodhead will take his two cavalry regiments to secure Dowdall Church.

These manoeuvres are a pre-cursor to taking the bridges across Mott’s Run and advancing onto Greysville.

The next task will be to advance the union onto the map and see how the forward confederate elements respond to the ‘sea of blue’ before them! No doubt a relay of messages and orders will quickly follow and the campaign will start to take shape.

From here on in, all of the campaign narrative will be made solely at my Commanders site, under the Graysville Campaign tag (see link below).

I will be using my own rules and the Warlord Games Epic ACW figures. 

LINK TO ACW CAMPAIGN - https://commanders.simdif.com/grayville_campaign_1863.html

LINK TO WWII CAMPAIGN - https://commanders.simdif.com/krosnogord_campaign_1944.html

As always, thanks for passing by. Norm.

EDIT


An opening action has been fought!

Thursday, 9 January 2025

Another campaign started.


I have started setting up my second mini campaign for 2025. This one is for my ACW figures.

Charles Grant's book of Programmed Scenarios has a chapter covering two styles of mini campaigns. One is a ladder system, which I am using for the WWII campaign and the other is grid based, which I am using for the ACW.

Rather than compromise his copyright here by detailing his map and system, I have made up my own campaign map, but the total inspiration for doing this is down to the Grant book and I will be using all of his ideas to manage the campaign and using the programmed element to it, which supports solo play.

As an example, Grant's map has two main roads, an east and a west road. At the start of play a dice is rolled to determine whether the attacker will drive down the east and screen the west or drive down the west and screen the east or do 40 / 40 down each road with 20% of the force given other tasks, including a reserve etc.

By also randomising to a degree the defenders 'deployments' and 'responses',  the campaign should start to get a character of its own and feel fresh to my eyes despite all of the planning. 

The map has some made up names, plus a few borrowed from various boardgame maps that I own, so it is typical rather than actual.

Next up I need an Order-of-Battle. I see the campaign being based around a division per side, with the attacker having a 3:2 benefit in numbers. The defender will be dispersed around the map, so the immediate effect will be greater than 3:2 as the attackers meet various outposts and blocking forces etc. 

I will likely choose a division each from a historical campaign such as the Shenandoah in 1862 or 1864 or I might mix that up a bit as you also roll for leader character traits, such as whether a commander is bold or cautious etc as this plays into some of the programmed responses in the game.

Anyway, little steps, but with two campaigns now planned, the ambition that I set at Christmas to get some big picture stuff going, but using smaller games along the way is starting to take shape.

Both the WWII (Krosnogord) and the ACW Graysville) campaigns will be supported over at my COMMANDERS site (link below), where once up and running, I will open up a subject tab for each in the menu there. As always, thanks for looking.

LINK;

https://commanders.simdif.com/


Thursday, 21 March 2024

Self printing home brew rules


I recently bought a PDF download supplement for some commercial rules and had them printed by an internet Print on Demand service (POD) and was surprised both by the commercial quality of the product and the accessible price.


This got me to thinking about having a single copy of my own ACW rules printed, so that at the very least, I would have a rather nice looking ‘proper’ rulebook to play from.


Up until now, I have kept my rules in one of those presentation files that has clear plastic sleeves that you slip the individual pages into. During play, if I need to make notes, I pull the sheets out and write on them and then every now and then, I do a complete re-read, edit and re-print and so it goes on while things get fine tuned, changed and then changed again!


The rules are now at a stage of being quite tight and certainly a lot of hours have gone into them. That is not to say they are good rules or that they model the subject well, but simply that I like them - obviously!


They have always had some colour artwork in them (maps and photo’s), but on the most recent edit, and to get ready for a PoD copy, I decided to take some better pictures.


This is not an aim for a final version, they still need continued playtesting and will have update and edit notes written in them (as painful as writing in / defacing a proper book will be!), but perhaps at this stage, the red ink does not need to flow as freely as was once the case!


I had designed a front cover, but had trouble inserting it without all of my tables and photographs slipping around (since getting my printed copy, this has now been fixed so will appear in my next printing).


The rules have been a living document in the ‘Pages’ app on the iPad for some years. I exported the file as a PDF and then uploaded it to a POD company. I used Doxdirect.com.


This PoD company makes uploading and buying really easy to do and there are a number of presentation configurations to choose from. You click the ‘Calculate’ button when you have listed what you want and get an instant quote. You can then go back in and change things and get another quote. This can be done as often as you like.


What I found interesting was my first selection gave a cost of £14.60 for a single unit.


I then tweaked a few things, mainly getting rid of saddle stitch and 120gm paper and the cost dropped to £10.64 (post free over £10).


Then I changed the print volume to 20 copies and this basically dropped the price to just over £5 per copy. My thinking is that once the rules are finalised, I might get a small print run done and this would make the items cheap enough to either gift and / or make a ‘not for profit’ charge.


This would essentially allow me to present the rules the way I want, with a goodly number of colour photos and maps etc, without someone asking can I create a ‘print friendly’ version etc. 


I know there are good social arguments for doing that, but I have spent a lot of time on these rules and it seems reasonable that I should expect the final presentation to fit with my vision of how it should all look.


It would also allow me to put on a presentation game at a show that are supported by some cheap rules for anyone particularly wanting a closer look - something that might have to be negotiated with show hosts of course and be something that the traders are happy with.


So, what did I get for my £10.64


A4 Wire Bound (cheaper than saddle stitch and more practical to using at the table - the above photo shows the rules folded to one of the Quick reference pages).


A 40 page document


80gm paper (the next option is 120gm, which is somewhat overkill, I wish there was an option between the two, say 100gm, but having ordered from them before, I knew 80gm is fine even for colour).


Double sides (so the booklet has 20 sheets, each printed front and back).


Full Colour (you only get two options, colour and B&W, so even though several pages are just text, if you want any colour, then it is the full colour option).


Front and Back on card (you can opt out of this, but it does protect the publication).


Note … Protective Covers (you can have additional protection, such as a clear plastic cover, but I did not take this option).


This doesn’t deal with the play aids, which I can do myself separately - though the three pages used for play aids are also in the rule book and the wire binding makes them easy to keep at hand.


The booklet has arrived and I am pleased with the production. Any failings are down to my non-professionalised approach to rule lay-out and presentation etc.


Since getting this, I have included a front cover in my text file. As the number of pages in the book must be divisible by 4, the cover puts me at 41 pages, so I have had to create another 3 pages. One is taken up by an inside front cover and the other two are at the rear of the book with a detailed example of play that I am working on.


At a recent wargame show, I picked up a napoleonic scenario book on the Leipzig campaign by Steve Shann. It is rather glorious and gave me some ideas on how to improve the presentation of my own rules.


His paper weight is clearly heavy and that seems to give sharper photos, so for my next printing, I will have a go at the 120gm paper. 


He also does all of the order of battles for each scenario on coloured backgrounds. It looks lovely …. but I also quite like the clinical and clean look of my black and white orders of battle, so I have decided to add what is best described as spot colour, with all headings done in the appropriate army colour, but keep it down at the pastel end of the vibrancy spectrum.


The photographs have all been given a shadow cast to lift them a bit.


I am tempted to re-order now, but it makes more sense to play a few more games to see whether the body of rules need changes and then do it, plus some more presentation tinkering is a certainty as I explore the idea more.


Anyway, I am only putting this post up simply because I know a ton of gamers have their own rules or adaptions knocking around somewhere and that formalising them into a coherent and nicely presented format might just be a fun aspect to pursue and you may feel that this sort of price is an acceptable deduction from your wargaming budget.


I am happy enough with this to now be looking at some of my other rules sets for similar treatment and of course the Chronicles of Piggy Longton might beg for a spot in the limelight and given the ‘brochure’ look :-)


Resource Section.


My sister webspace ‘COMMANDERS’  showcases the various figure and boardgame systems that I am enjoying and gives a flavour of where current projects are up to. Link.


https://commanders.simdif.com


Tuesday, 12 March 2024

Updating ACW rules


Every now and then, I make enough changes and tweaks to my Two Flags - One Nation rules, to necessitate the reprinting out of a new draft.


In a last minute exercise, I threw down a game to just make sure that nothing was immediately outstanding or awkward after the changes. Plenty of terrain was used so that the ‘difficult’ terrain, disorder and skirmish rules would be put through their rigours.


There have been some other changes, such as weapon ranges and the relationship with movement. The management of movement has been streamlined to be easier and less parade ground orientated.


So, there have been enough changes and red ink scrawled over rule pages to justify a reprint. 


This time though, I am going to do something a little different and get these printed by a Print on Demand service, rather than using my own printer - simply to give me a nicer presentation for the next round of development.


The game was useful as it identified a careless mistake that I had made regarding skirmisher fire. I suspect the mistake was actually made on my napoleonic set and then dragged across to the ACW set as I try to keep the engine of both sets pretty much aligned.


The following are just a collection of table shots from the game and as always, are clickable.


Resource Section.


My sister webspace ‘COMMANDERS’  showcases the various figure and boardgame systems that I am enjoying at the moment and gives a flavour of where current projects are up to. Link.


https://commanders.simdif.com


Wednesday, 15 March 2023

Part 2 - Victory Hill scenario


In the last post, part I of the Victory Hill scenario was played out, representing the clash between two brigades on the Union left flank in the developing Cross Keys battle - 1862.


Now we are ready for part II of the scenario. It is the next hour and each side has a fresh brigade entering the battlefield as a reinforcement. Our interest now switches to the capture of the hill. 


The Confederate reinforcements are capable, but the Union reinforcements are ‘limited’ … though they have twice as many regiments!


The game was halted at the end of part I and the surviving forces stayed in place, together with any hits and disorder they may have accrued. Also the victory points earned were kept. If coming to this fresh, the reader may want to first visit the earlier post that sets the background and covers part I of the scenario. 


LINK to that;


https://battlefieldswarriors.blogspot.com/2023/03/victory-hill-cross-keys-1862.html


I know a couple of people have expressed an interest in playing this and so I have uploaded a copy of the scenario to my DropBox account (thank you DropBox) as there is a bit of nuance to the scenario, plus the OOB is set out. There is a link in the Resource Section below.


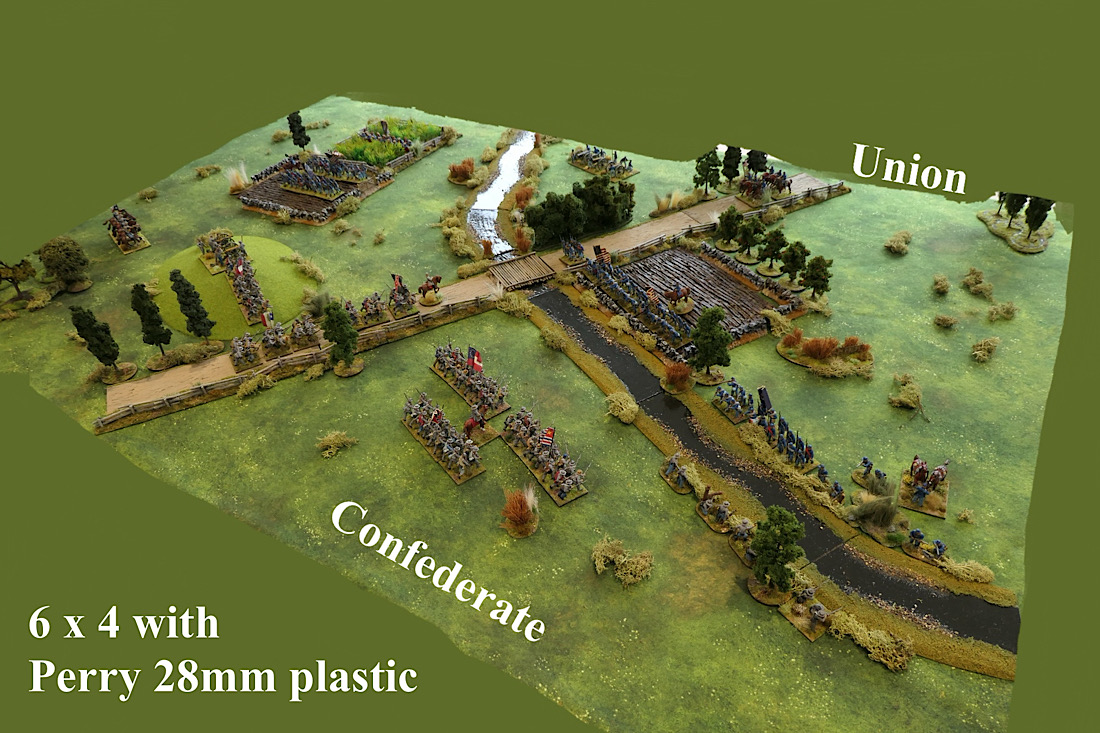
As a reminder, here (left) is how the situation looked at the start of Scenario 1, with the Confederates laying in ambush on the hill.


And below is how Part I ended - a bit of a mess, with both sides pretty much exhausted and the Confederates falling back onto Victory Hill - except for their left flank (16th Mississippi), which has managed to get itself isolated amongst the Union line.


For Part II, the Confederate remain as being player one and so their reinforcement arrives first, with Elzy’s Brigade, comprising of just two regiments (13th & 25th Virginia), but at least they are capable. 


This is followed by the Union reinforcements (BG Bohlen) arriving in their part of the turn. They have four regiments and artillery, though all of the infantry are classed as ‘limited’.


Here is an overview of the play through of Part II.


Elzy brings up two regiments of Virginians as reinforcements


The Confederates finding themselves immediately outnumbered, take the decision to fall back behind the hill and force the Union to advance against them. 


Union reinforcements, 4 infantry regiments and an artillery battery, moving towards the isolated 16th Mississippi’s flank. 


Unfortunately for 16th Mississippi, who is still engaged with the Union line, they dare not disengage initially, but after putting up good fire, they see off the regiment to their front (45th New York), giving themselves some latitude to fall back towards the hill, just as Union reinforcements approach them.


The Bucktails work their way uphill, onto the Confederate exposed flank.


Other than 16th Mississippi, the rest of the Confederate force have pulled back behind the ridge, which certainly frustrates the Union gunners on the left, who limber up and move around the side of the hill to get themselves into a flanking position.


Bohlen’s reinforcement advances on the hill as 16th Mississippi fall back before them. The Confederates are mainly behind the ridge.


There is a lot of blue heading towards the hill position and the first clash, occurring on the Union left, sees 8th New York push 15th Alabama off the hill, but Elzy has worked his way across to the Confederate left, moving up the hill and crashing straight into Bohlen’s Brigade. 


First clash, Union left pushes the Confederates back.


The difference in soldier quality in part is making the difference, with the Union pushed back in some disorder and with significant casualties.


Elzy (top left) climbs the reverse of the hill and will smash into Bohlen’s advancing regiment.


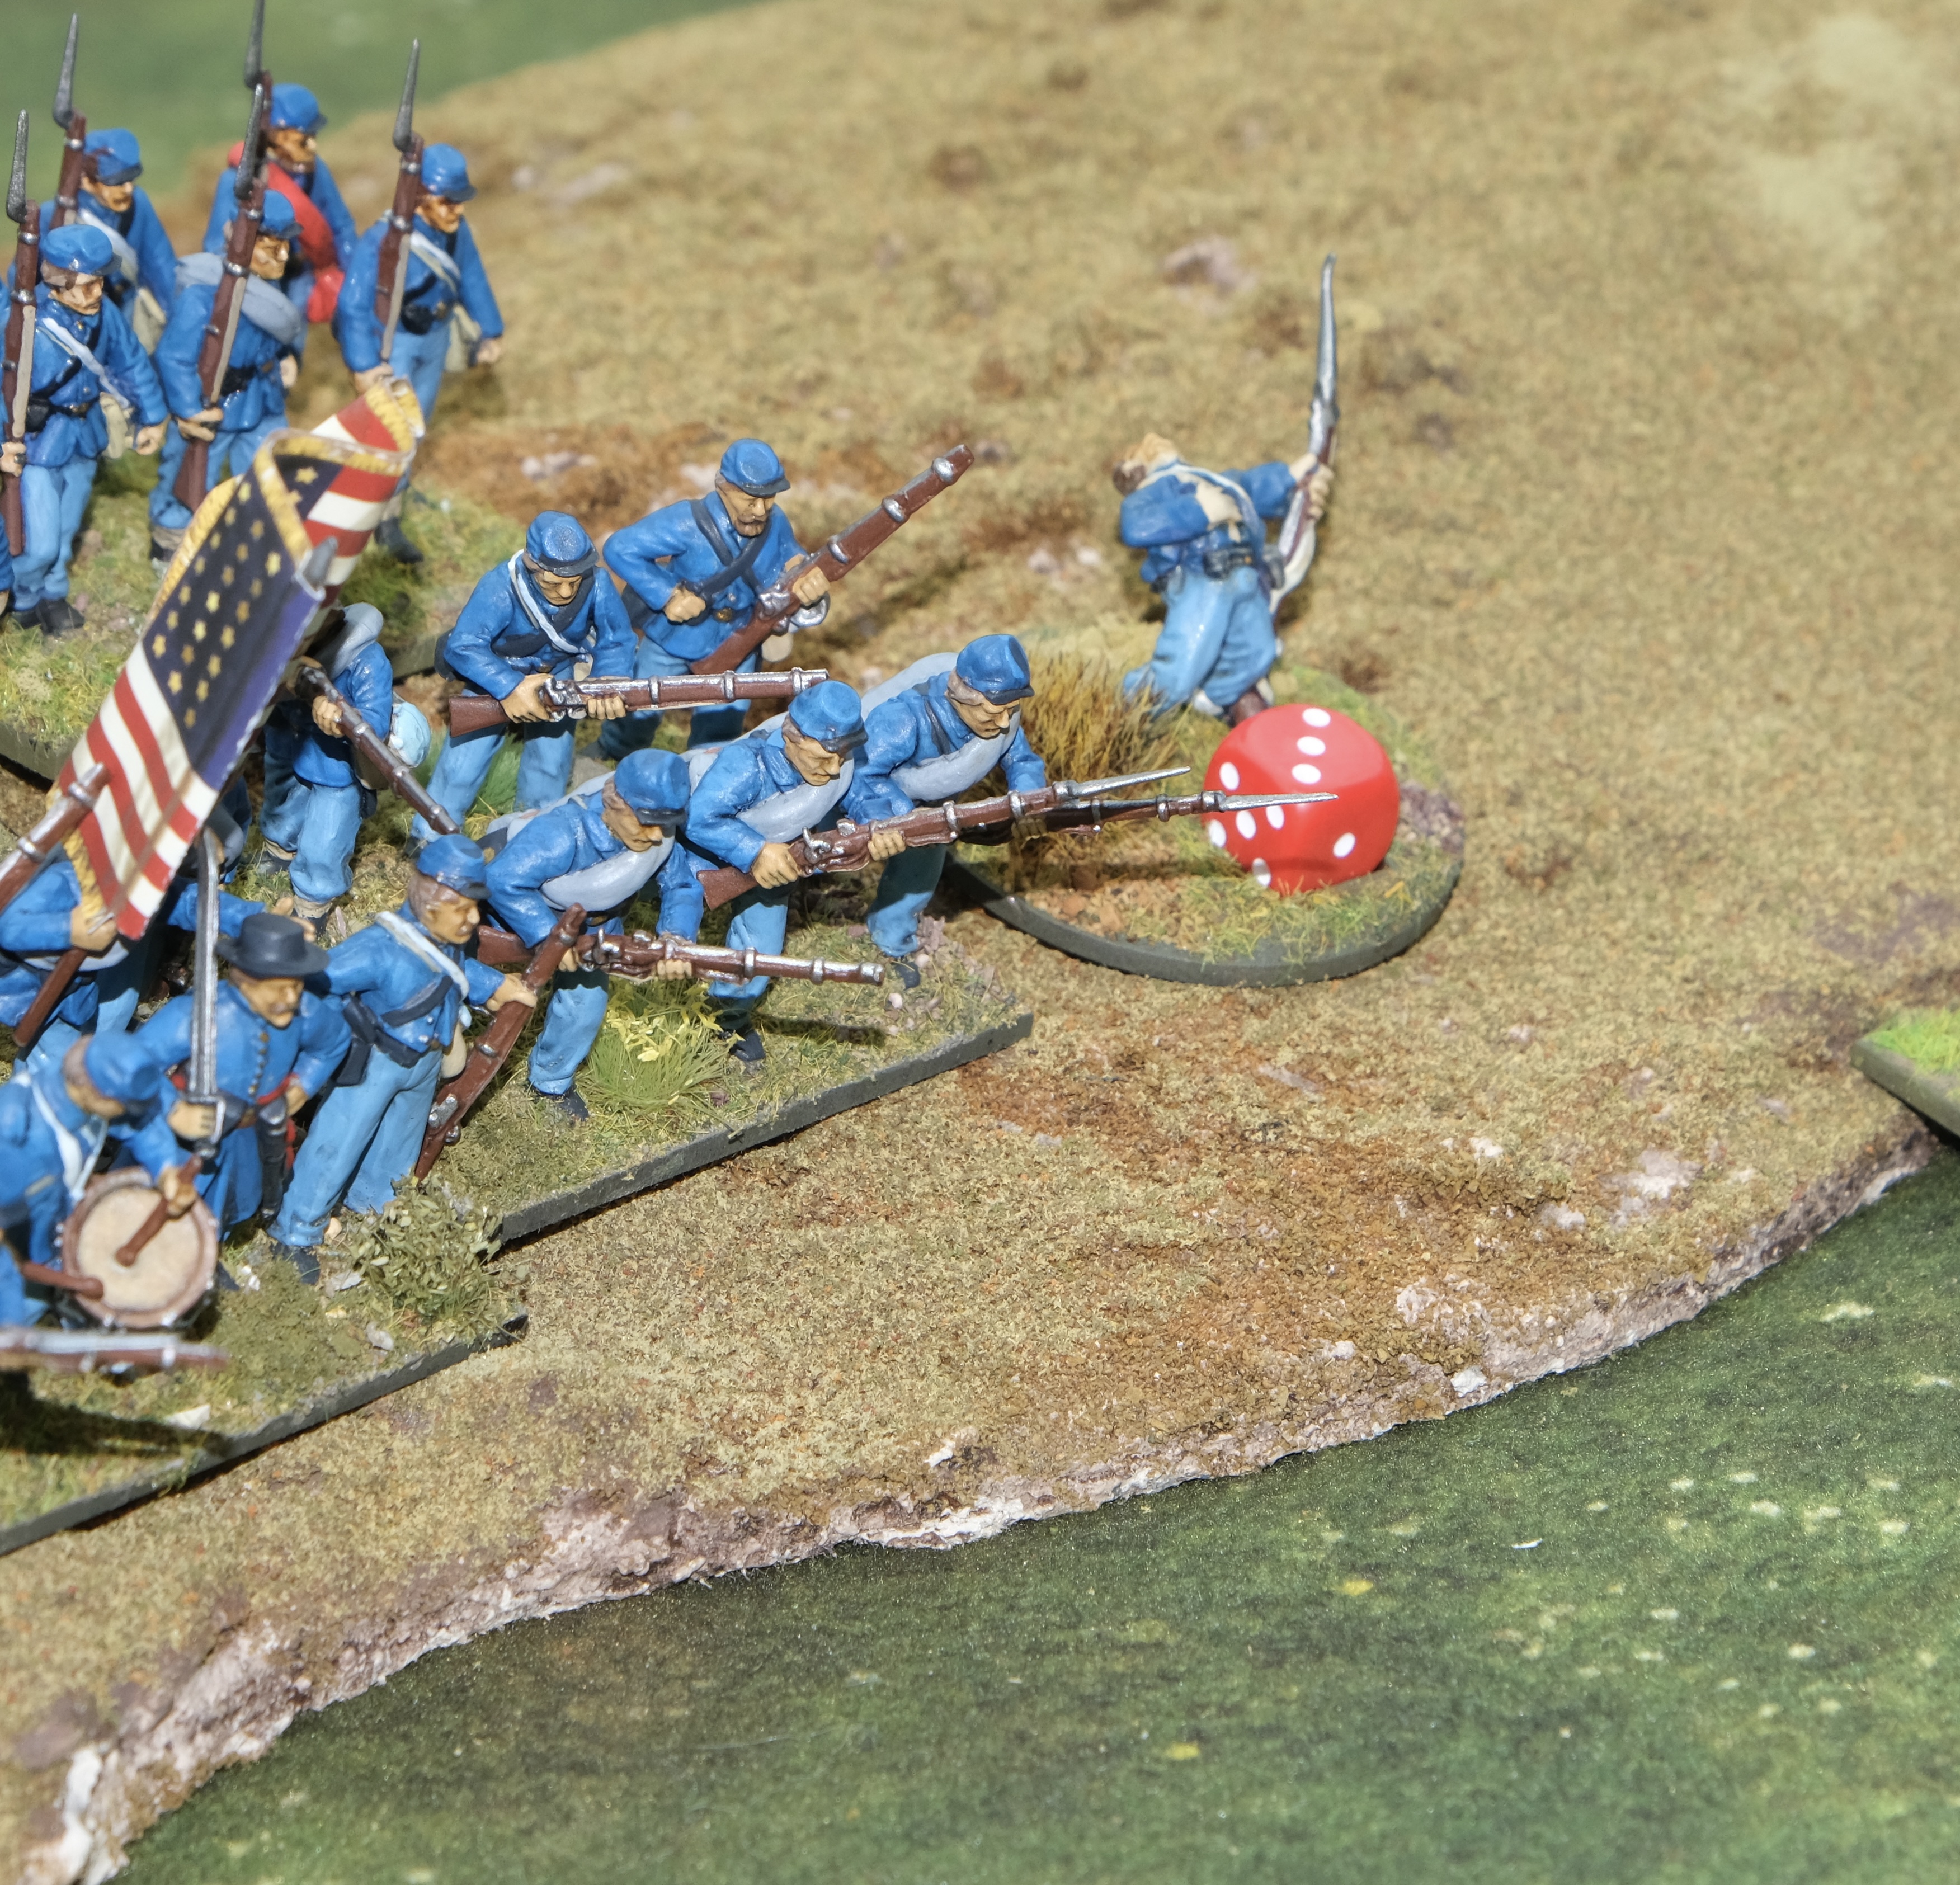
But the undoing of the Confederate position was already in motion. In the centre, they had taken so many casualties that they were clearly wavering and ready to run, while on the Confederate right, an assault against the just unlimbered Union artillery turned into a fiasco, as the attackers wrecked themselves assaulting into the face of canister - leaving Trimble dead on the field!


Union artillery delivers devastating canister, throwing back a Confederate assault.


Despite the apparent success of Elzy locally on the Confederate left, the rest of the Confederate forces were fleeing the field and it was the Union who would claim the victory.


Conclusion


For a small game, the scenario(s) offered a lot of excitement as the minutiae of the rules made local things matter, such as a half hearted charge being repulsed or when the ‘notable’ unit failed their re-roll or when the diminished 21st Georgia was ready to run, but rolled double six on their Retreat Test and stood their ground instead and then of course there was the death of Trimble.


I have tweaked the scenario as I have gone along, not by much, just to help with a bit of balance and by making the hill an objective, so that it becomes worth fighting over.


At the end (turn 7), two of the Union regiments were on four casualties each, so another turn of pressure from Elzy would have likely pushed them to 5+ casualties, liberating one or two more victory points, so I think in the end, while this is a tough one for the Confederates, the Union cannot take too much for granted.


I also found a need to tweak the main rules as I feel that artillery has been over powered (and might still be!)  


Anyway, it seems to be doing its job of being a good starter scenario for gamers working with new rules or who have smaller collections - and it is a historical situation, so worth examining for its own sake. 


It will have a couple of more play tests and then take its place as the intro scenario for the TF-ON rule book.


By the way - if you are having a problem posting a comment because you get an error result, just press the ‘publish’ button 4 times (I know, but that’s how it is! ). On the 4th time, it will publish. I’m not sure what that is all about, some minor bug of some sort, but I am occasionally getting it, even when replying on my own blog (using Safari).


EDIT - I ran the full scenario, both parts, again today, using Epic scale figures. I kept the terrain footprint the same and also used the same measurements. Units were 3 bases wide (180mm). Quite a different game. The initial ‘destruction’ of the Union didn’t happen, though they were eventually fought off. Then the steam roller of the Union reinforcement arrived, but in the 7 turns could not eject the Confederates from the hill. The Confederates won on VP’s at the end of the scenario. 


EDIT - There is a lovely write up of this game by a fellow gamer whoc converted the scenario for Rebels & Patriots. LINK


https://leadadventureforum.com/index.php?topic=140550.msg1792435#msg1792435


Resource Section.


This scenario, including order-of-battle, is available in full as a download PDF from my DropBox account. LINK


https://www.dropbox.com/s/a325mauhge1g3u2/Victory Hill.pdf?dl=0


My sister webspace ‘COMMANDERS’ is being re-configured to showcase various figure and boardgame systems that I am enjoying and gives a flavour of where current projects are up to. Link.


https://commanders.simdif.com